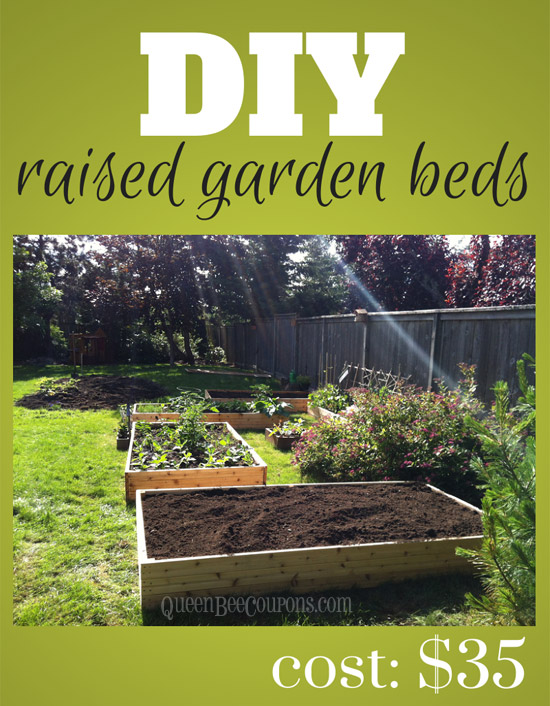
Raised Bed Tutorial
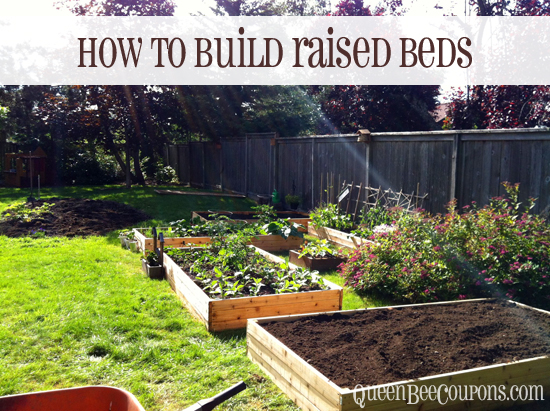
I’ve dreamed of raised beds for years – but I was intimidated by the idea of building something. Intimidated by the cost. But in Spring 2012 we jumped in head first and we built our first raised garden bed – in an afternoon – and I realized just how easy and inexpensive they can be! We now have six raised beds that provide a bounty every summer and I’m so grateful that we went for it!
This tutorial is based on what we did to build our raised beds – but we don’t proclaim to be experts.
The price. I know there are probably cheaper ways to make these. I wanted a mixture of simple design, easy to acquire supplies (no stalking Craigslist or driving 30 miles for “free wood”) and frugal. I built two 8×4 raised beds and one 8×2 with an average cost of about $35 each, which I think is completely reasonable considering the bounty that will hopefully come from these and the years they will last. AND it’s about half of the going rate that I found for pre-built raised beds on Craigslist or the kits at Home Depot.
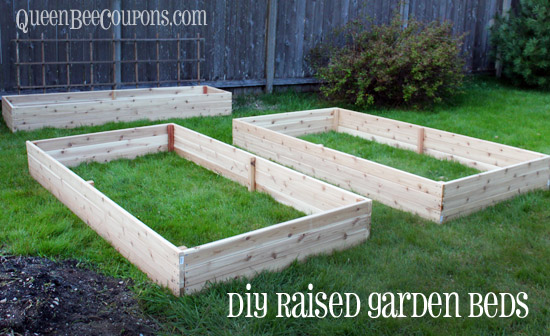
The design. I’ve spent plenty of time over the last two years reading online tutorials. I went with the easiest method and design possible (in my opinion). I had Home Depot even pre-cut my wood, so I wouldn’t have to bother. It was SIMPLE.
I’m no expert. My raised bed resume is short. This is it. I don’t pretend to be an expert and if you’re looking for a tutorial that would be certified by someone with a Bachelors in Raised Beds – this isn’t it. But I’ll share what we did, in hopes that it’s helpful.
SUPPLIES AND TOOLS
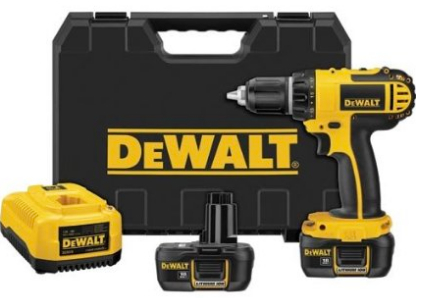
Good quality power drill – Early in our homeownership, we invested in a DEWALT DCD760KL 18-Volt 1/2-Inch Cordless Compact Lithium-Ion Drill/Driver Kit – and every time we use it, I am just gleeful at the time savings and ease! After years of handheld screwdrivers we are glad we now have power! It worked flawlessly on the raised bed boards.
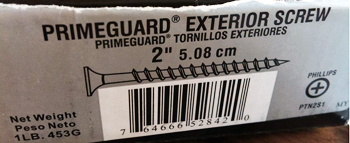
2 inch galvanized screws. $8.47 a box. We used about 1.5 boxes to build the three beds. We used galvanized outdoor screws so they wouldn’t rust. There are probably cheaper screw options, we were at the mercy of the Home Depot sales people, who suggested these. They worked like a charm and probably worth every penny. So about $4.25 on screws for each raised bed.
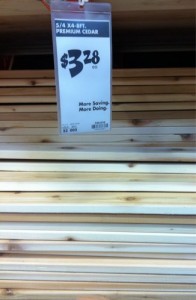
Cedar boards, .5 inches x 4 inches x 8 feet. about $3.28 each. We used nine (9) for each 8×4 foot beds for a total of $29.35 per bed. And on the 8×2 foot bed we used eight (8) making it $26.32. We picked through the pile looking for ones with the fewest “knots” and the straightest line (not bowed or crooked). Don’t buy treated or stained woods – the chemicals will leach into your soil and your food!
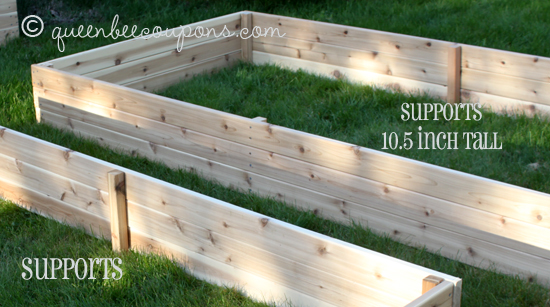
Baluster, 2 inches x 2 inches x 36 inches. $1.49 each. Need two per bed for a total of $2.98 per bed. These are the supports we used in corners and mid-part of bed to give it some strength. Basically cut these to the length of THREE boards stacked on top of each other, if you used the ones shown above these need to be 10.5 inches tall. We had Home Depot cut these, too.
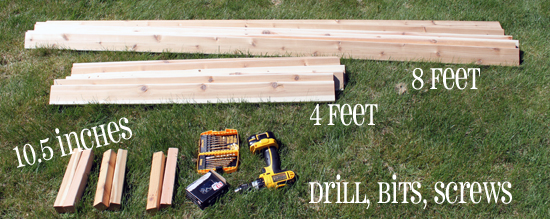
Cost per bed for 8 ft x 4 ft beds:
Boards 9 x $3.28 = $29.35
Screws = about $4.25 (half a box)
Balusters 2 x 1.49 = $2.98
Final price = $36.58
Cost per bed for 8 ft x 2 ft beds:
Boards 8 x $3.28 = $29.35
Screws = about $4.25 (half a box)
Balusters 2 x 1.49 = $2.98
Final price = $33.30
INSTRUCTIONS
Before starting anything – observe your space over a few days to get a good idea of what kind of sun it gets. Measure the best area to determine the best side beds to make. It would be a shame to spend all this time and money building raised beds for an area not conducive to growing the things you want.
1.) Get prepared – The day before, make sure your power drill is charging and you have a back-up battery charged. Enlist another helper – it’s easier when trying to keep boards straight and flush.
2.) Cut your boards to size (or have someone do it for you!) – Like I mentioned earlier we had Home Depot cut our boards to the sizes we needed before we left the store. They do this for FREE, just tell them what you want. What a piece of cake!
3.) To pre-drill or not? The first raised bed we made, we drilled holes before drilling in the screws. I guess some people call this pre-drilling? The advantages to pre-drilling a hole is the screw will go in easier and you are less likely to have the screws crack or split your wood. The disadvantage of pre-drilling is it takes a lot longer – I’m not slick enough when it comes to changing out the drill bits, so it was cumbersome. On the last two beds, we got lazy and did not pre-drill, we had a few more little cracks and splintering, but we decided not enough to warrant the extra time to pre-drill. If we weren’t filling the beds with dirt, we might have cared a bit more. If you’re a perfectionist – pre-drill. If you don’t really care about imperfections, don’t. 🙂 (With this said if you are finding the screws are really cracking your boards – you need to pre-drill or it compromises the structure and longevity of your beds).
I did not measure out the spots for the pre-drilled holes. I just put the boards together like I wanted them and drilled the holes. The key is to keep the boards from moving before you can get the screw in. So we pre-drilled as we went and the extra set of hands was necessary to hold it in place.
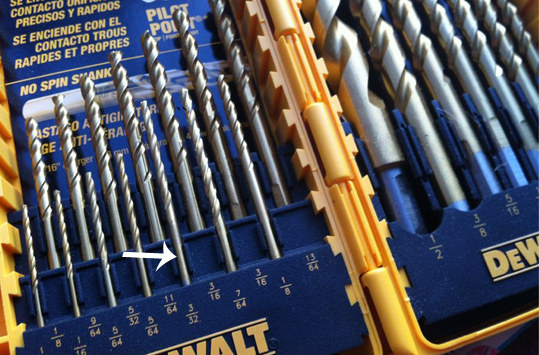
I used the 3/32 drill bit for the 2-inch screws we bought. I’m not sure if this is exactly right, but it worked. I guess the key to pre-drilling holes is to find a drill bit that is a little smaller than the shank of the screw (without the threads). If the wood cracks/splinters as you drill in the screw you need a larger hole, if it goes in easily and feels loose, you need a smaller bit. 🙂 That’s what I gathered from Googling about drill bits, hope it’s helpful. 🙂
4.) Square corners – Find a nice even work space. Start by lining up the corners on your 8 foot board and your 4 foot board. Try to get a 90 degree corner. I’m guessing a T-square (Stanley 45-300 Aluminum Carpenters Square) might come in handy for this – but we weren’t too worried about it, so we didn’t bother.
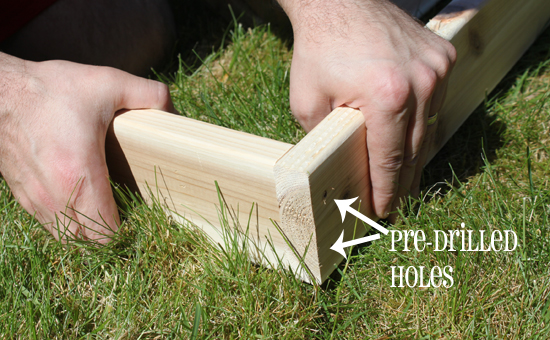
5.) Work your way around. We started with making one corner. We drilled the two pieces together, then added the baluster support to the corner and screwed it in. Then we worked our way around until we had four corners. Try to avoid the dark knots in the wood – those are a pain and nearly impossible to drill through. And on the corners – just watch the screws coming from the other direction – I always drilled a little higher, to avoid hitting the other screws (hope this makes sense).
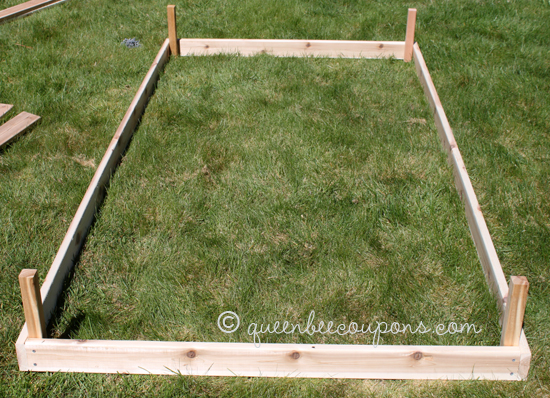
6.) And around again. Then work your way up! If you care about your bed being exactly 90 degree corners, try to wiggle and adjust after the first level. We didn’t bother.
7.) Mid-section support. This title makes me think of Spanx – but basically in the middle of each raised bed, we screwed a support to the three boards. This just gives the sides more support. I suppose we could have done two on each side, we’ll see how one on each side works.
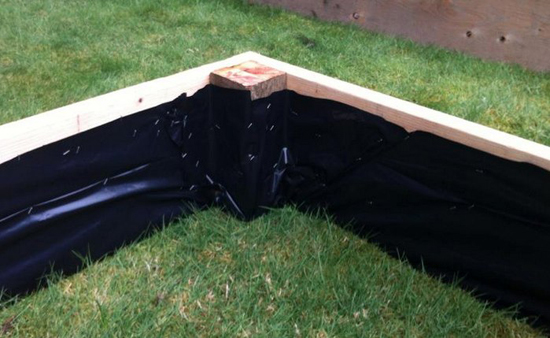
8.) Next steps. A friend of mine stapled plastic sheeting inside his raised bed – to help keep moisture away from the wood and increase longevity. I think we are going to do this next. Then we will have dirt delivered. . . and then the tough part comes – shoveling and wheeling it into the backyard to fill these up!
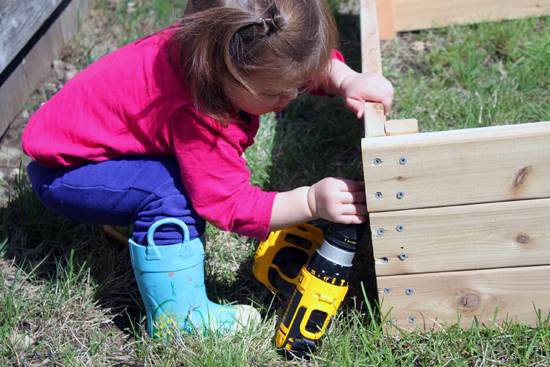
My daughter tries to help. Don’t worry, we removed the battery so she wouldn’t injure herself and she really thought she was being helpful. You can see the detail along the side of the corner – it’s not perfect, but it will do!
I told my son we would build him a raised bed in the backyard. He looked at me puzzled and said, “so I’m sleeping outside now?” Ha!
I’d love to hear how you made raised beds or if you have any tips for a better way to do things. Be nice – remember I don’t claim to be an expert. 🙂
Leave a Reply